The changing of seasons can be an exciting time for many of us in the RV community, but it can be a sad time, too. For part-time RVers, this time of the year might mean the last summer camping trip is over, and it’s now time to winterize and stow the RV until next season rolls around.
For those of us that full-time RV, it’s time we keep those wheels rolling with a keen eye on the weather. You never know when you’ll get caught in a freak storm!

September is one of my favorite months for RVing. The weather is usually agreeable throughout most of the United States, including the high country. Sure, you have to pay attention to overnight temperatures in the mountains to avoid freezing waterlines, and you might even encounter a light dusting of snow here or there, but most winter conditions won’t begin to set in until sometime in October or November.
 Plus, this time of year, the kids are back in school (yay!) leaving plenty of room for the rest of us to find open campsites.
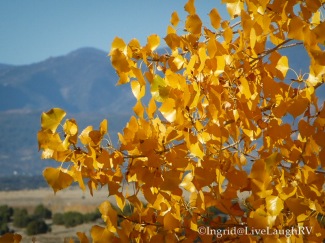
Oh, and have I mentioned the leaves? Who doesn’t enjoy fall colors?
Yep, September is a great month to travel in an RV, but it’s also the perfect time of year to check that our important RV accessories are in perfect working condition. After all, there’s no sense in storing cracked hoses or damaged electrical cords, let alone carry them on to our next destination.
Top 3 Must-Have RV Accessories …
So whether we’re getting ready to put our RV into storage or we’re heading south to a warmer climate for the winter, we should check (closely) our RV gear … especially the necessary and most important gear like sewer hoses, electrical cords/adapters, and drinking water hose. (This post contains sponsored content and affiliate links.)
Al and I spend a great deal of our time traveling around the southwestern part of the United States where it’s not uncommon to enjoy as many as 300 days of sunshine per year. Yeah, we won’t complain about that! All that sunshine is great, and we love it, but that doesn’t mean that sunshine plays well with our equipment. In reality, sun and heat can play havoc with our equipment, especially anything plastic or rubber.
Sewer waste hose
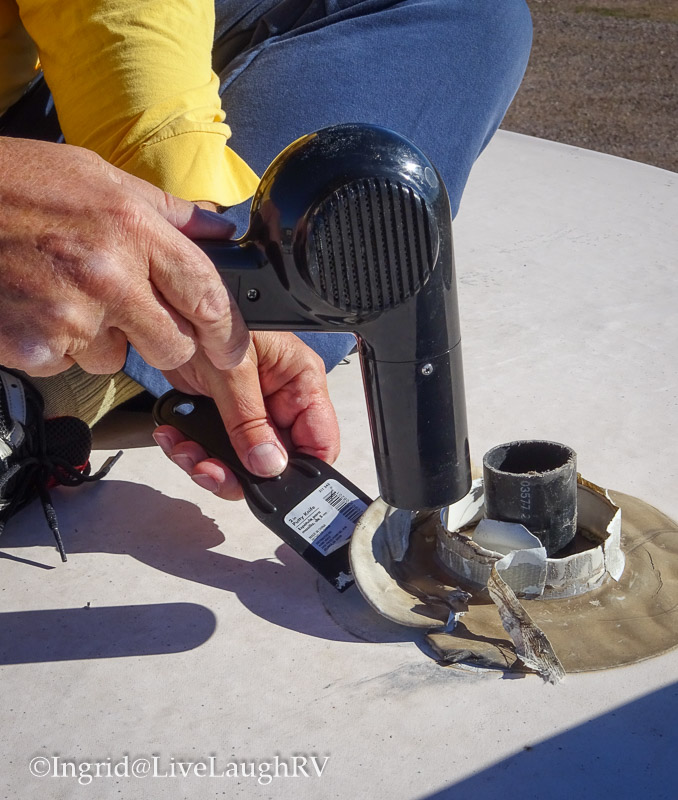
One of our neighbors here in the RV Park in Prescott Valley, Arizona, just replaced his RV waste hose the other day. The hose looked fine to Al and me, and being somewhat nosy neighbors curious, we walked over to ask him why he was replacing the seemingly perfect waste hose.
 He went on to tell us how every time he dumped his tank, he’d smell a bad odor. There were no visible leaks on the ground, just the odor. So upon closer examination of the waste hose, he discovered it was split on top in numerous places. Ah yes, that sun!
By inspecting the hose and then replacing it with a new one, he averted a potentially crappy situation 🤣… a situation that he nor his neighbors would have found humorous, but rather, quite disastrous.
Being able to empty our tanks with ease is crucial in the RVing world. Al and I travel with two waste hoses. It’s always a good idea to have an extra hose in case your existing one is leaking or in the event one hose isn’t long enough to connect to the dump site. I can’t tell you how many times having that second hose averted an inconvenience or even a potential disaster.
Electrical extension cord and fittings
Seeing the country in an RV can be an amazing adventure, but that doesn’t mean there aren’t challenges. In an ideal world, we could just pull our RV up to an electrical pedestal at any campsite and plug-in and connect. Unfortunately, it’s not always that easy, and the use of an extension cord might be necessary.
RV parks and campgrounds do not always offer the best layout for us to hook-up. Way too many are poorly designed and might even leave us perplexed and scratching our head in bewilderment, wondering, “Whatever were they thinking?” Therefore, being prepared for any scenario is advisable.
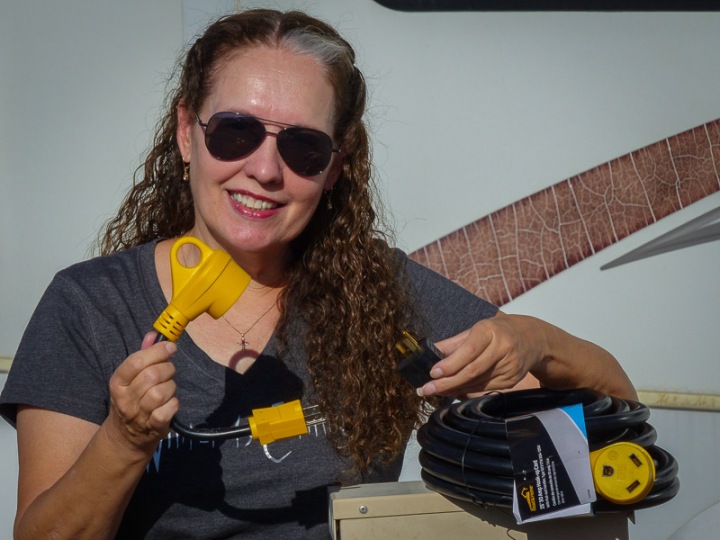
Not only do we need to be concerned about ample electrical cord, but we also need to make sure we check which type of hookup is available and if we have the correct connection. Some campgrounds or RV parks have a 50 amp connection on the electrical pedestal while others may have only a 30 amp connection. If you’re lucky, the pedestal will have both, but in the event it doesn’t, having various electrical RV adapters on hand will make your RV adventure that much more enjoyable.
Electrical adapters are a must if you ever intend to plug your RV into a standard household outlet. Whether you’re at a campground, RV park, or residential home, make sure you understand the various electrical hookups/outlets before plugging in to any outlet to prevent damage to your RV electrical system.
Drinking water hose
Access to fresh water is important when traveling in an RV, and a hose designed and designated specifically for drinking water is an absolute must. We always travel with two 25′ long hoses. First, you never know how far away a water connection will be, and second, you never know when a hose will fail. Yeah, there’s that whole damaging sun and heat subject again.

Extras we keep on hand
Now that I’ve covered the top 3 must-have RV accessories, allow me to share a few other little items that are great to have on hand. Sometimes it’s the little things that make our RV life a little easier.
- Water Hose Y connector – this connector allows us to turn a single hose outlet into two outlets.
- Water Pressure Regulator – this is a must. It protects our equipment, prevents pipe damage and increases equipment longevity.
- Waste Hose couplers – these come in handy in the event we need to join two hoses together. We also keep a couple of hose clamps in our tool kit.
- Waste Hose adapters – we replace these fittings from time to time due to use and sun damage. It’s always a good idea to keep an extra around.
- RV waste cap – this is another item that we like having a spare on hand. A couple of years ago, after staying in an RV park for a month, Al went to disconnect our waste hose and attach the waste cap, but he couldn’t find the cap. We think a critter may have taken it.
A change of season – preparing your RV for winter
If you’re storing your RV for the winter, winterizing it properly is crucial. It’s no fun pulling your RV out of storage and getting it ready for your first camping trip of the season, only to realize you have damaged lines and/or equipment. You’ll want to consult your owner’s manual for instructions specific to your RV or seek professional help in winterizing your particular RV.
If you decide to RV in winter conditions, there’s some precautions to take to avoid waterlines freezing. Al and I do our best to avoid RVing in freezing temperatures, but sometimes, it’s unavoidable. This is how we’ve handled winter RVing … we go into “self-containment” mode.
- Disconnect the RV water hose and waste hose.
- Have your fresh water tank full for usage.
- Use your RV furnace to keep the RV warm. It’s okay to use another source of heat like a Mr. Buddy, but do not use it exclusively. The RV heating system usually has heat runs to the lower compartments, keeping waterlines and the water pump from freezing.

So, are you ready for the change of season?
I know we are, and as we prepare to hit the road along with the impending weather changes, Al and I remind ourselves of our favorite quote ….
“An ounce of prevention is worth a pound of cure” – Ben Franklin